Decoration workshop / Beginner / Light and reusable
Small Changes, Real Character
Paper offcuts and a length of string can give one quiet corner a new rhythm.
Choose one place, then one shape
A garland works best when it belongs to a particular space. Measure a noticeboard, a stretch of wall or the area above a shelf before cutting the paper. Leave breathing room around the decoration instead of filling the entire wall. This is a lightweight visual accent, not a support for objects.
Start with repeated circles, rounded leaves or simple diamonds. Thin printer paper is easy to cut but may curl; light card keeps its shape more reliably. Reused envelopes and clean paper bags offer gentle colour variation. Avoid brittle paper, loose glitter and heavy attachments.
- Clean paper offcuts or light card
- A small piece of scrap card for a template
- Pencil, ruler and scissors
- Cotton string or another suitable cord
- A hole punch, plus fixings suitable for your surface
Make a template you can repeat
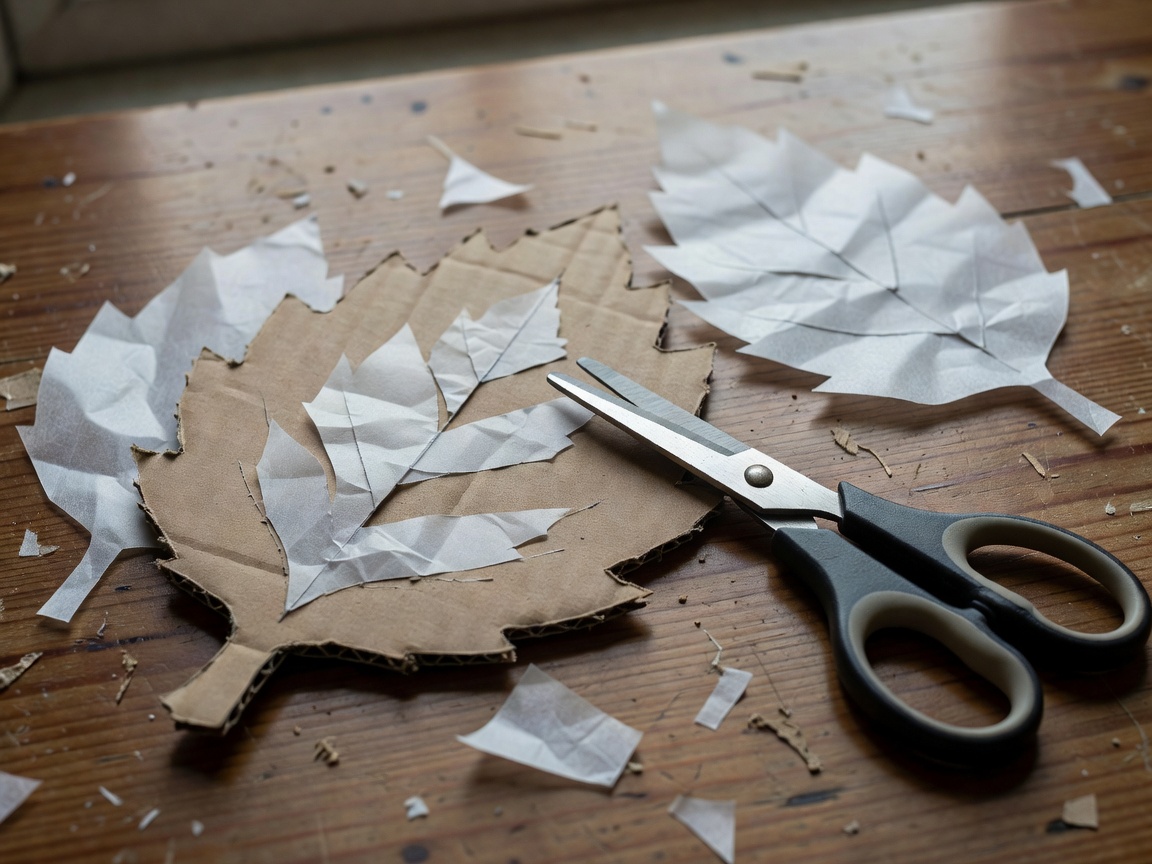
Draw one shape on scrap card and cut it out. A rounded leaf about 6–8 cm long is an easy first choice: it has enough surface for a hole without being bulky. Leave a broad area near the top rather than a narrow stem that can tear.
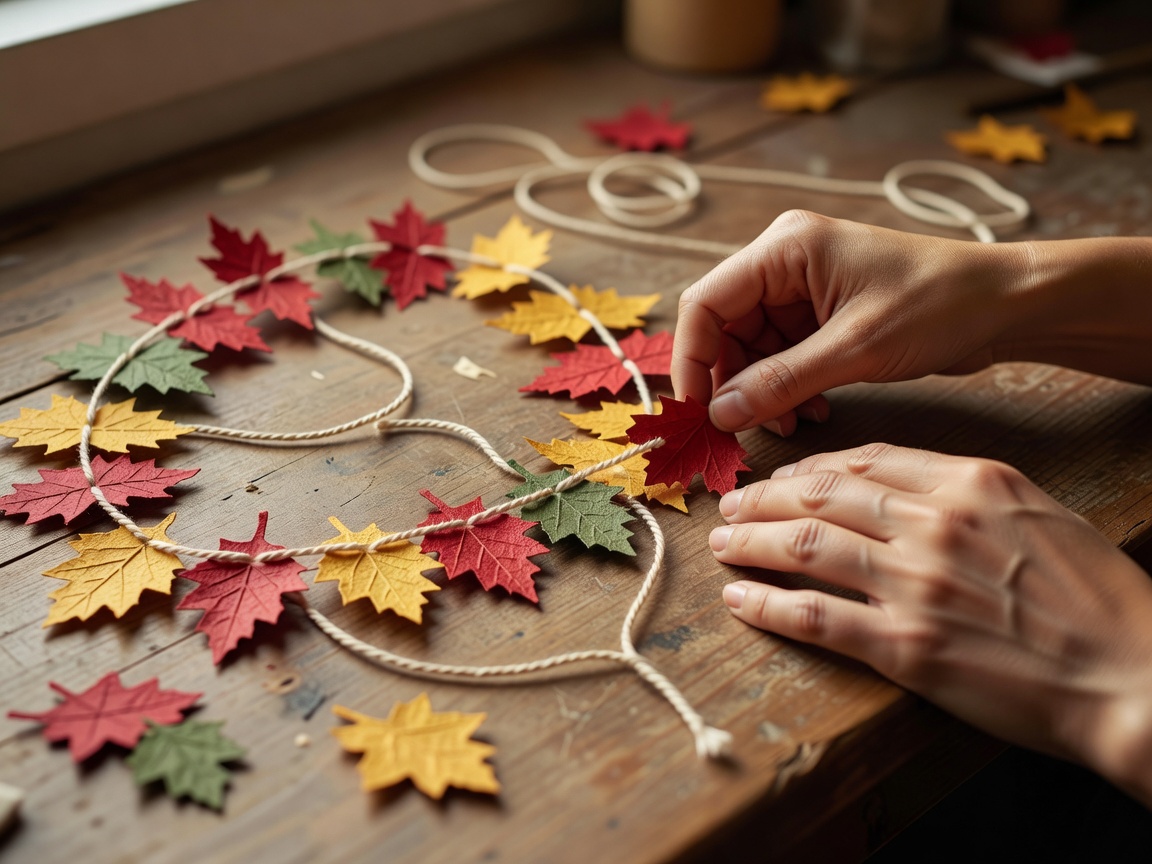
Trace the template onto the reverse of your paper. Rotate it to fit around old folds and printed marks. Choose no more than a few colours for the first version, and lay the cut pieces beside each other to see how the sequence reads. Imperfect colour variation can be appealing; inconsistent attachment points are more distracting.
Build and hang the garland
Measure the run
Cut enough string for the visible span, a modest dip and secure attachment at both ends. Do not leave long loose tails. Estimate the number of shapes by laying them along a ruler with gaps between them, rather than guessing from a pile.
Cut a small set first
Make a few shapes and check their size against the chosen space. Cut more only when the scale feels right. Short scissor cuts help with curves. Keep fingers clear of the blades and collect offcuts so they do not cover your working area.
Punch consistent holes
Put two holes near the top of each shape, spaced apart with enough paper around them to resist tearing. Test the punch on a scrap first. Two holes let the string pass across the back and help the shape face forward. Very thin paper may need a small reinforcing patch, fully dried before punching.
Thread and space
Thread the cord through both holes in each shape. Lay the entire garland flat and adjust the gaps. If pieces slide freely, a small knot beside each shape can hold its position. Avoid pulling knots tight against a delicate paper edge.
Check the fixing
Choose a fixing rated for the surface and the light load. A drawing pin may suit a cork noticeboard; a removable adhesive hook may suit some walls, subject to its instructions. Test an inconspicuous area first. “Removable” does not guarantee that paint, wallpaper or an old finish will remain undamaged.
Hang, then inspect
Install without reaching from unstable furniture. Check that both ends are secure and the shapes hang away from hazards. Keep the string beyond the reach of children and pets, and away from cots, beds and routes where someone could catch it. Remove it if the paper becomes damp or the fixings loosen.
Change the season, not the whole method
| Season or occasion | Shape and material | Useful check |
|---|---|---|
| Spring | Simple leaves in pale paper | Keep leaf tips broad enough to resist tearing |
| Summer | Circles in warm colours | Avoid direct sunlight if fading matters |
| Autumn | Kraft-paper leaves | Use paper, not damp collected leaves |
| Winter | Large, simple stars | Keep well away from candles and lights |
| Birthday | Diamonds with handwritten letters | Plan letter order before threading |
A folded-paper star can be a later project, but flat shapes are easier to attach and store. For year-round decoration, use one repeating form in two tones already present in the room. You can change the sequence without cutting a new set of pieces.
Finish, store and use what remains
This punched version uses no glue and has no drying stage. If you paint or reinforce the shapes, finish that work first and wait until the material and adhesive are fully dry. Wet paint can transfer to the string or wall; damp paper can curl after hanging.
When the season changes, take the garland down gently. Lay the paper shapes flat in a reused envelope or shallow box, with the cord loosely coiled so it does not crease them. Label the package with the shape or occasion. Check for torn holes before the next use and replace only damaged pieces.
For historical pattern inspiration, William Morris’s Strawberry Thief and Willow Bough show how repeated natural forms can create rhythm. Look at structure rather than copying an intricate design onto every leaf. The Victoria and Albert Museum’s William Morris collection is a useful reference for the designer and his work.
Keep this project inexpensive by using existing paper, a modest length of string and a reusable template. Spend attention on safe hanging and consistent spacing. Those two details improve the result more than a bag of decorative extras.