Gift workshop / Beginner hand sewing / No machine
Made for Someone
A small fabric scrap can become a bookmark that feels personal and still does its job.
Choose the cloth before the decoration
Start with thin felt or a stable woven fabric, such as a clean cotton offcut. Felt makes the simplest version because its edges do not unravel like woven cloth. Avoid stretchy jersey for your first attempt: it can distort as you sew. A bookmark should be flexible and flat enough to rest between pages without straining the book.
Think about the recipient’s reading habits. A quiet colour, a small stitched initial or fabric from a meaningful old shirt can make the result distinctive. Bulky beads, buttons and thick tassels look appealing on a table but can press into pages or catch on a book cover.
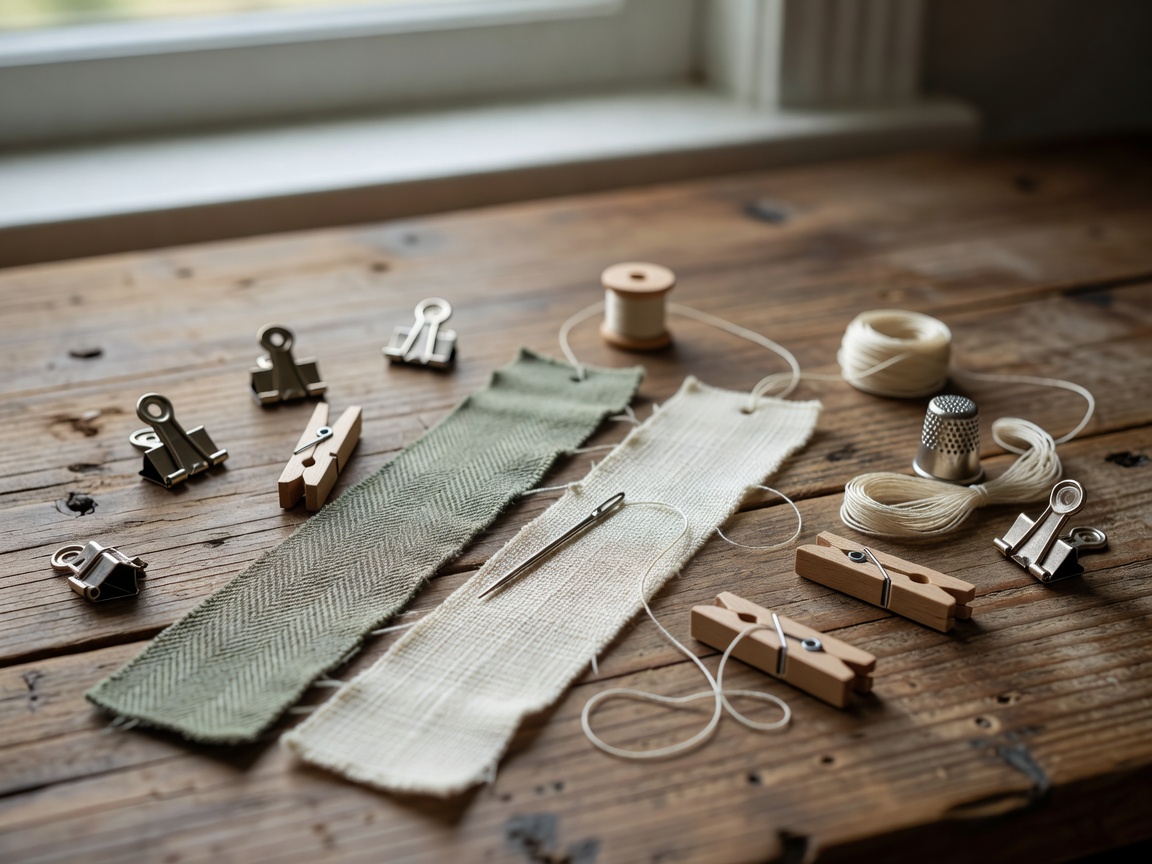
- Two thin fabric rectangles, each about 5 × 18 cm
- A hand-sewing needle and suitable thread
- Scissors, ruler and a pencil or washable fabric marker
- A few pins or small clips
- Optional embroidery thread for a simple initial
Prepare a clean, stable starting point
Wash and dry reused cotton before cutting, following its care requirements. Test coloured fabric by rubbing it with a damp white cloth; if colour transfers, it is a poor choice for something that touches book pages. Check felt in the same way and avoid material that sheds heavily.
Cut the two rectangles to match. For felt, you can sew the layers directly together. For woven cloth, fold approximately 5 mm along each edge to the wrong side before joining the layers. Small clips can hold these turns. Press only if the fabric permits it, using a safe ironing surface and the appropriate temperature.
Sew a bookmark by hand
Add the personal detail first
If you want an initial, stitch it onto the front rectangle before assembling the bookmark. Draw a small outline and use simple backstitch: bring the needle up, make a short stitch backward, then come up one stitch length ahead. Keep the thread tension gentle so the fabric stays flat.
Align the layers
Place the rectangles with their wrong sides facing inward. For woven cloth, the raw edges should already be turned inside. Clip or pin the layers together. Confirm that the corners match and that the embroidered detail faces outward.
Begin with a secure thread
Use a manageable length of thread rather than a long piece that tangles. Knot the end and hide the knot between the layers. Bring the needle out near one edge. Keep needles and pins in a small container when you pause, not loose on the table.
Work around the perimeter
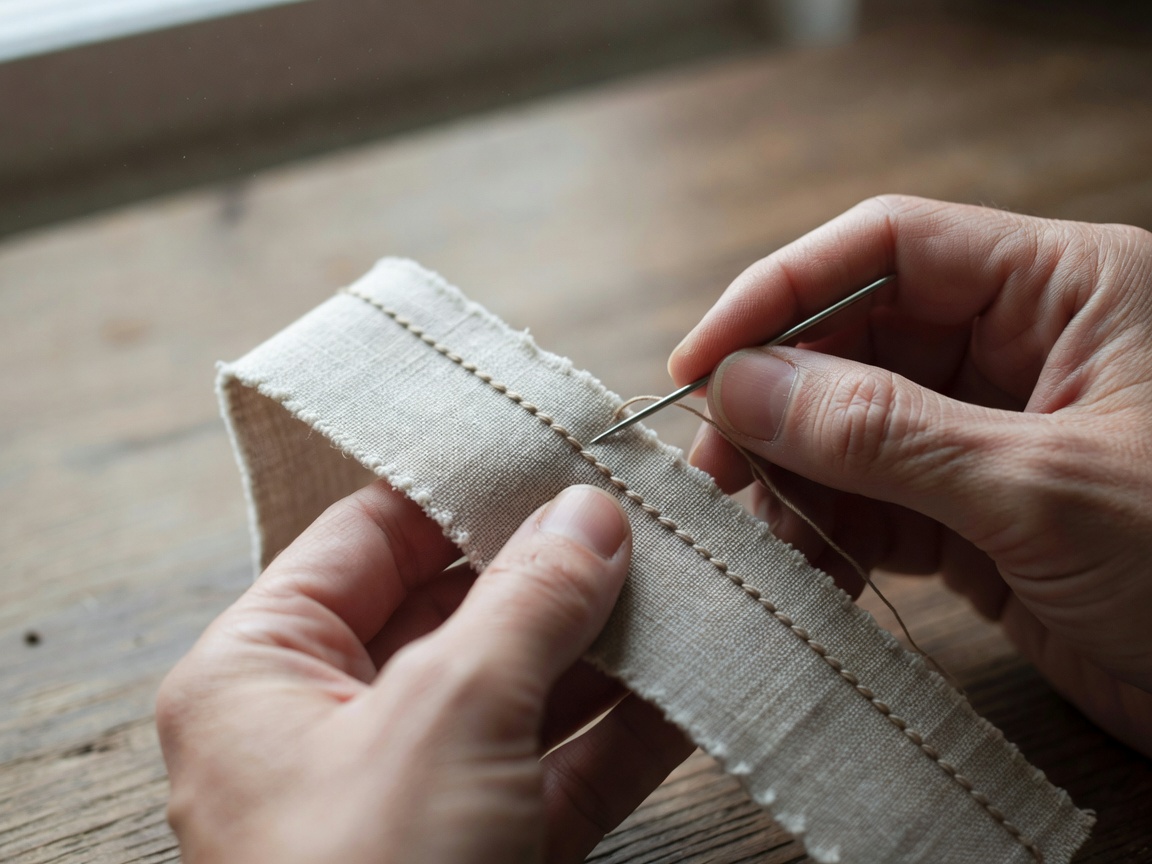
Sew small running stitches through both layers close to the edge. Try to keep their lengths consistent. On woven cloth, catch the folded edges securely. At corners, take an extra small stitch if needed, without pulling so tightly that the corner curls.
Secure and trim
Finish with a few small stitches in the same area, then pass the needle between the layers before bringing it out a short distance away. Trim the thread close to the surface so its tail slips inside. Remove every pin and clip, and account for your needle.
Check it inside a book
Let the bookmark rest between closed pages, then inspect for bumps, shedding and loose thread. It should lie flat without leaving coloured marks. If it is too thick, remake it with thinner layers rather than trying to flatten it with heavy pressure.
Keep the gift useful
A stitched letter is enough personalisation. You can also use two complementary colours, a narrow line of sashiko-inspired running stitches or a tiny patch. Sashiko is a Japanese stitching tradition; borrowing a simple stitch pattern does not make a beginner bookmark an authentic example of the full practice. Describe your work plainly.
If you want visual references for embroidery, the Victoria and Albert Museum embroidery collection offers a wider view of stitched textiles. Learn from the use of line and repetition rather than attempting a detailed museum piece as your first gift.
Wrap it without buying a second project
A clean paper bag can become a sleeve. Cut a rectangle, fold it around the bookmark with a little room and secure the overlap with a narrow paper band. Add a handwritten care note: keep dry, avoid washing unless the fabric and thread are suitable, and stop using it if dye transfers. Do not claim that reused fabric is allergy-free.
Furoshiki is a Japanese cloth-wrapping tradition and can be a useful reference for wrapping a larger gift in reusable cloth. For this small bookmark, a paper sleeve may be simpler and less bulky. Match the wrapping to the object rather than adding layers for their own sake.
| Option | Advantage | Beginner caution |
|---|---|---|
| Thin felt | No turned edges needed | Test shedding and thickness |
| Woven cotton | Uses small clean scraps | Turn edges to control fraying |
| Paper bookmark | No needle required | Keep glue dry and layers thin |
Keep the budget focused on a missing needle or a little thread, not decorative extras. A gift made from an existing scrap can be thoughtful without pretending it took no effort. A short note about why you chose the fabric often carries more meaning than a complicated embellishment.