Paper workshop / Beginner / No glue needed
Fold, Cut, Create
One square sheet becomes an open desk tray. Practise the creases before reaching for your nicest paper.
Start with a sheet, finish with a tray
This traditional origami box is often called a masu box. It uses repeated folds to create four walls and a flat base, without adhesive. The finished tray suits paper clips, light sewing notions or small notes. It is not food-safe, waterproof or designed to hold heavy objects.
The folds are manageable for a beginner, but the two final walls need patience. Use ordinary printer paper for a rehearsal. Origami paper folds easily; thick cardstock resists the layered corners. Clean kraft paper from a bag can work if it is reasonably thin and free from torn seams.
- One square sheet, about 20 × 20 cm
- A ruler and pencil if your sheet is rectangular
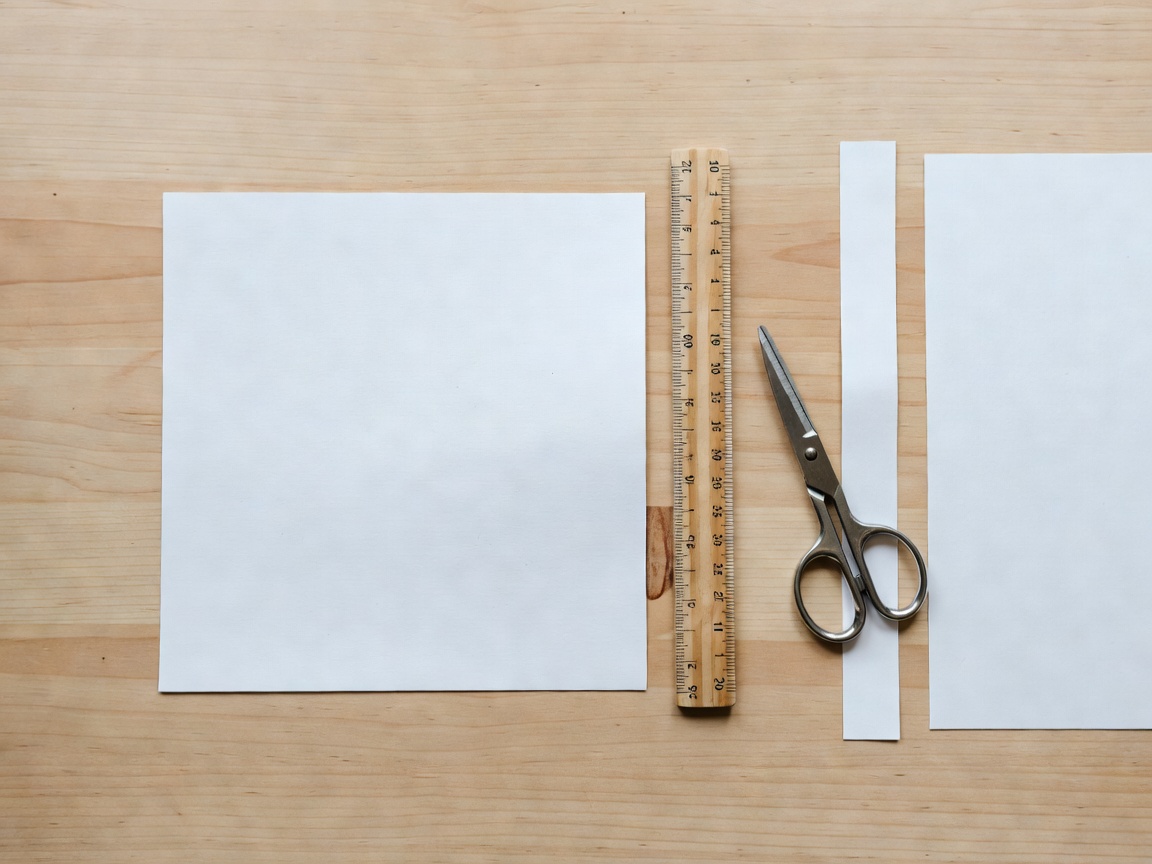
- Scissors for preparing the square
- A clean, flat working surface
Prepare a true square
With an A4 or US Letter sheet, fold one short edge against a long edge to form a triangle. The extra rectangular strip extends beyond the triangle. Mark where that strip begins, unfold and cut along the marked line. Keep the offcut for testing colours or making gift tags.
Check that all four edges are equal. A slightly uneven square can still fold, but it makes the walls harder to align. Work with dry hands and avoid a greasy tabletop. If your paper has a decorative side, begin with that side facing down so it appears on the outside of the finished box.
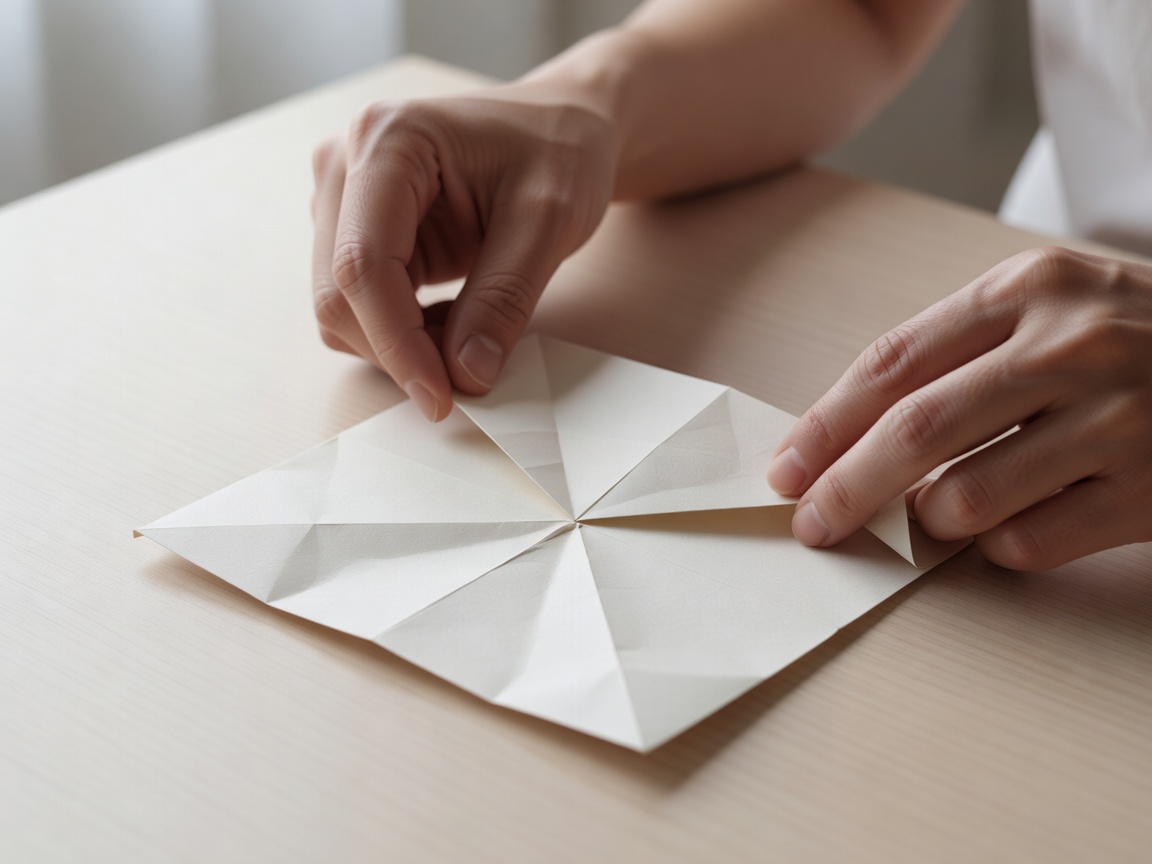
Fold the tray, one stage at a time
Find the centre
Fold the square in half from left to right, then unfold. Fold it in half from top to bottom and unfold again. The crossing creases mark the centre. Run a fingertip along each fold instead of scraping it with scissors.
Bring in the corners
Fold each of the four corners to the centre point. You now have a smaller square made from four triangular flaps. The tips should meet neatly without overlapping. If one is misplaced, open that fold and correct it now.
Mark the walls
Fold the bottom edge of the smaller square to its centre, then the top edge to the centre. Unfold those two folds. Turn the paper a quarter turn and repeat. Unfold again. These parallel crease lines define the base and wall height.
Open two opposite corners
Unfold the top and bottom triangular flaps all the way out, leaving the left and right triangles folded inward. Fold the left and right long edges toward the centre along their existing creases. Lift those edges upright to form two side walls.
Raise the remaining walls
At the top end, gently bring the two sloping corner creases inward. They collapse into small pleats as the end wall rises. Fold the long pointed flap over that wall and down onto the base, with its tip reaching the centre. Repeat at the bottom end. Work slowly; do not force a crease that bends in the wrong direction.
Square and inspect
Press the base flat and adjust all four walls. The last triangular flaps should lie inside the box rather than protruding. Test with a few paper clips. If a wall springs open, reinforce its existing folds before considering a small piece of removable tape.
Choose paper for the job
| Material | Good use | Watch for |
|---|---|---|
| Printer paper | Learning the fold sequence | Soft walls under heavy contents |
| Origami paper | Clean, light decorative trays | Small sheets make tiny boxes |
| Kraft paper | A quiet, natural finish | Thick bag seams and old creases |
| Magazine paper | A colourful practice version | Slippery coatings and visual clutter |
Add character without weakening it
Decorate the sheet before folding if you want a pattern across the whole surface. Coloured pencils create less moisture than paint. Keep heavy collage pieces away from folds, where extra thickness stops the walls closing cleanly. A simple cut-paper tag can sit beside the tray instead of being glued onto it.
For a seasonal version, choose a colour rather than adding fragile attachments: warm brown for autumn, deep blue for winter or a pale green for spring. There is no drying stage in the unglued project. If you add glue or paint, let it dry fully according to the product instructions before using or stacking the tray.
Origami is a Japanese paper-folding tradition; kirigami combines cutting with folding. This project stays with origami once the square is prepared. For further reading, the British Origami Society is a specialist reference. You do not need additional tools to complete this first tray.