Beginner questions / Practical answers
Before You Pick Up the Scissors
You can start small. A little preparation prevents most avoidable frustration.
A workable first setup
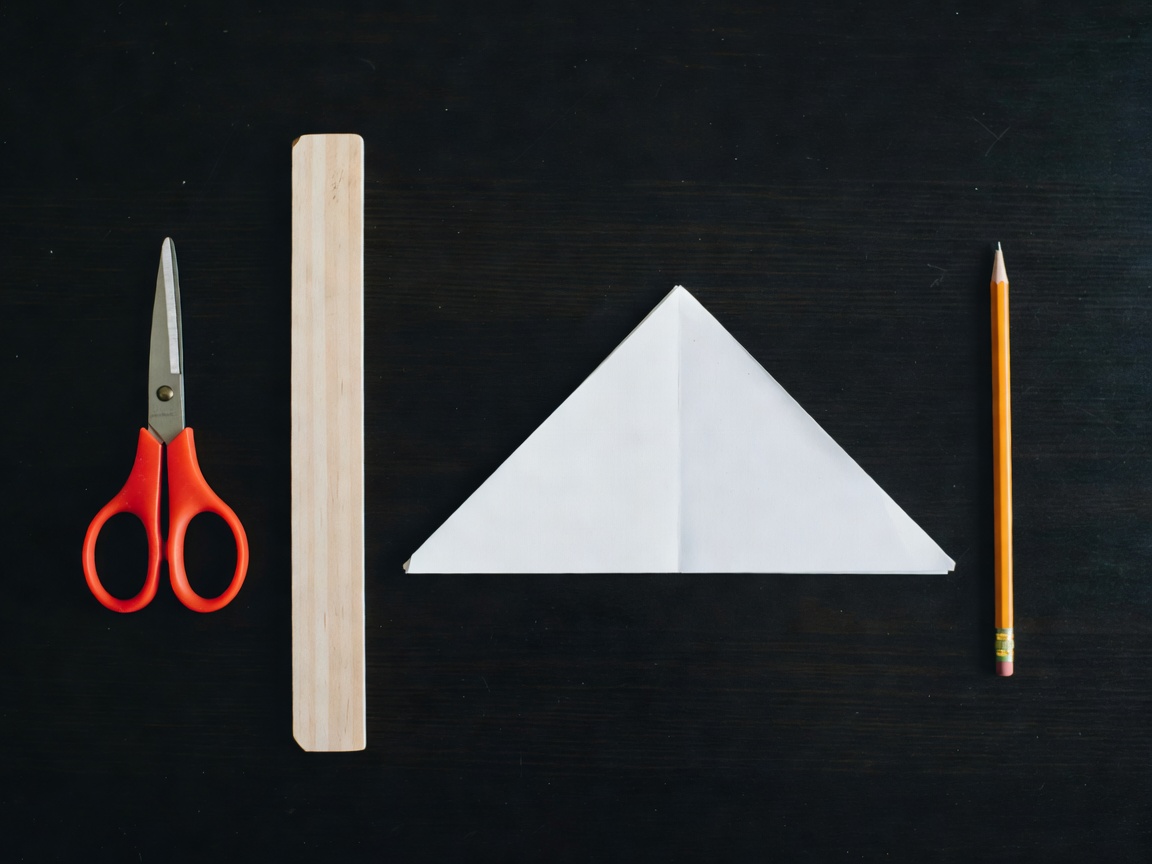
Clear enough space to move the material without bumping your tools. Put a waste container nearby and keep water away from paper. Read the entire project, including its finishing checks, before making the first cut.
The questions below cover the decisions that matter more than a large supply collection. Open any row for the answer.
Common workshop questions
Which project is easiest to start with?
Start with the paper tray if you have a square sheet and a flat surface. It requires no glue, drying time or sewing. Practise with ordinary paper before using a decorative sheet.
If folding feels frustrating, cut a few simple shapes for the garland and arrange them flat before adding string.
Do I need a craft knife or a glue gun?
No. These beginner projects use scissors, folding, hand stitching or simple interlocking parts. If cardboard is too thick for your scissors, choose thinner material rather than forcing a cut.
Hot glue adds burn risk and can create bulky joins. A cutting machine such as a Cricut is also unnecessary. Buy specialist equipment only after you know which hobby you want to pursue.
Which reused materials should I avoid?
Avoid mouldy, greasy or chemically contaminated packaging, chipped glass and material with an unknown residue. Use clean, dry materials suited to the intended object.
A container that once held food is not automatically suitable for another food-contact use. Our trays and dividers are for dry, non-food items.
Why do my paper folds not line up?
Check that the starting sheet is a true square. Align the whole edge before pressing down, then crease from the middle toward the ends. Thick or previously crumpled paper is less forgiving.
Unfold and correct a misplaced crease early. If the sheet becomes soft from repeated handling, use a fresh practice sheet and keep the first one as a reference.
How long should I leave glue to dry?
Follow the specific product label. Adhesive type, amount, material, temperature and humidity all affect drying and curing. A surface that feels dry may not have reached full strength.
Use a thin, even layer and allow ventilation where the label requires it. Do not enclose damp cardboard in a drawer or package a freshly glued gift.
Which glue works for paper and cardboard?
A glue stick can suit lightweight paper collage. A compatible PVA craft glue is often useful for paper and cardboard, but check the label and test on scraps. Too much liquid adhesive can cause warping.
No single adhesive suits every surface. Follow manufacturer instructions rather than assuming a familiar product works on coated paper, fabric, glass and plastic alike.
Can children make these projects?
Adults should assess the child, tools and materials and provide appropriate supervision. Scissors, needles, small parts and long strings create hazards. Choose a simpler paper activity when necessary.
Keep tools and supplies away from very young children and pets. Do not hang string decorations near cots or beds or where they can be pulled down.
How do I keep a craft project inexpensive?
Choose a project that fits your existing supplies, make one test version and buy only what is genuinely missing. A small amount of suitable thread or adhesive is more useful than a mixed kit of extras.
Count storage space and drying space as resources too. Reuse is less helpful if it creates a pile of materials with no planned use.
Can I turn a reused glass jar into a candle holder?
Not on the assumption that any jar is heat-safe. Unknown glass may crack under heat, and paper or fabric decoration adds fire risk. These guides use sound, clean jars only for unheated storage.
Keep all paper decorations away from flames, heaters, lamps and cooking surfaces. Do not attach them to electrical lights.
What should I do when the finished piece looks uneven?
Check function first: does it sit flat, hold its light contents or hang securely? Then correct one visible issue at a time. Trim a rough edge, reinforce a loose stitch or adjust the spacing.
Do not add decorations to hide a structural problem. If the material has become weak, remake that part. A second small attempt usually teaches more than rescuing an overworked first one.